 Bradenton
 Whitfield Estates Roofs Take a Different Kind of Beating
Whitfield Estates sits close to Sarasota Bay on the west side of Bradenton, and that proximity to open water shapes everything about how a roof ages here. Homes in this part of Manatee County deal with the same hurricane-season wind and wind-driven rain as the rest of the Gulf Coast, but they also sit in a steady stream of salt air moving off the bay. Salt doesn't just sit on the surface — it works into fasteners, flashing seams, and any exposed metal, accelerating corrosion in ways that inland Bradenton neighborhoods don't experience nearly as fast.
Add in the neighborhood's mature tree canopy, which is part of what makes Whitfield Estates a nice place to live but also means more limb strikes, more debris on the roof deck after a blow, and more organic material collecting in valleys and gutters that holds moisture against shingles or tile. Layer intense, near year-round Florida UV on top of that, and you've got a roof under constant low-grade stress even before a named storm ever makes landfall.
None of that means Whitfield Estates roofs fail faster than anyone else's. It means storm damage here tends to show up in specific, predictable places — and a repair that doesn't account for salt exposure and wind uplift patterns typical to this stretch of the bay is a repair that's going to need doing again.
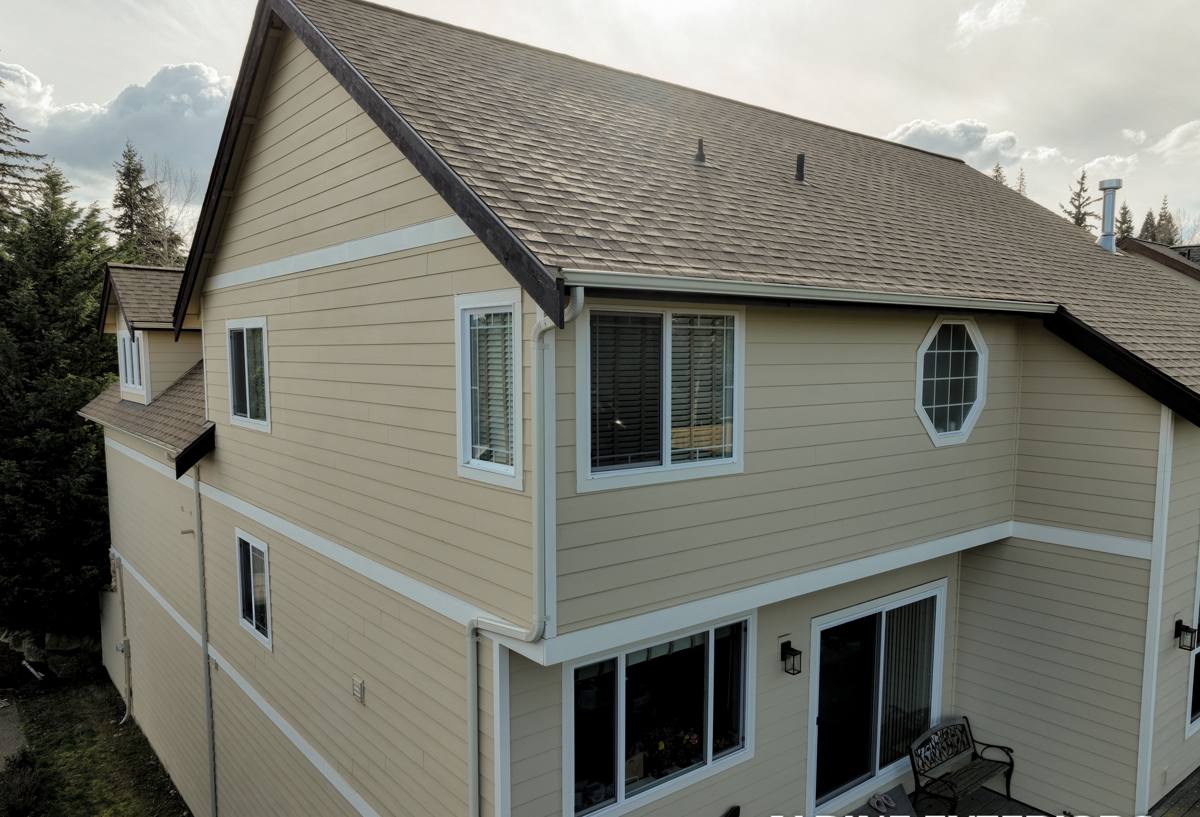
What Storm Damage Actually Looks Like on These Roofs
After a wind event, most homeowners check for the obvious stuff — missing shingles, a tarp-worthy hole, a section of ridge that's clearly gone. That's real damage, but it's often not the damage that costs the most if it's missed. The problems we find most often on Whitfield Estates roofs after a storm include:
- Lifted or creased shingles that look intact from the ground but have broken the seal strip, letting wind-driven rain track underneath
- Flashing separation around chimneys, skylights, and roof-to-wall transitions, where sustained gusts work fasteners loose over repeated storms rather than one
- Corroded or backed-out fasteners, especially on older tile and metal roofs where salt air has been eating at exposed metal for years before a storm finally exposes the weak point
- Granule loss on shingles from wind-driven debris and heavy rain, which shows up as bald patches and premature aging even without a visible hole
- Soaked or delaminated decking under a spot that looked fine from outside, found only once we pull back the roofing material
- Displaced or cracked tile from wind uplift or falling debris, which can look minor but breaks the water-shedding layer underneath
The pattern we see over and over: the visible damage is real, but it's rarely the whole story. That's why a proper storm damage inspection isn't just a walk around the yard looking up — it involves getting on the roof and checking the areas that fail quietly.
The Difference Between a Real Repair and a Patch Job
A lot of storm repair work in coastal Florida is done fast, and fast isn't always wrong — a tarp or emergency dry-in the same day a storm passes is exactly what a damaged roof needs. The problem is when "fast" is also where the job stops. Slapping new shingles over damaged decking, caulking a flashing joint instead of resealing it properly, or matching shingle color without checking whether the surrounding roofing has enough life left to hold a patch — all of that gets a roof back to "looks fine" without actually fixing what the storm exposed.
A real repair starts with figuring out how far the damage actually extends, not just where it's visible. That means checking the decking underneath compromised shingles or tile for soft spots or water staining, inspecting flashing at every penetration in the affected area (not just the obvious one), and confirming that fasteners and underlayment in the repair zone actually meet current wind-resistance standards — not just replacing like-for-like with whatever was there before, especially if what was there before was already marginal.
How Our Storm Damage Repair Process Works
1. Inspection and documentation
We get on the roof, not just around it, and photograph everything — the storm damage itself and the condition of the surrounding roofing so you know what you're actually dealing with. This documentation also matters if you're filing an insurance claim.
2. Emergency mitigation, if needed
If there's an active leak or exposed decking, we get it dried in and protected first. This isn't the final repair — it's what stops a manageable problem from becoming a bigger one while the rest of the job gets scoped and, if needed, approved by your insurer.
3. Scope and estimate
You get a clear, written breakdown of what's damaged, what needs to be repaired versus replaced, and why. No pressure to upgrade the whole roof if a targeted repair is the honest answer — and no pretending a patch will hold if it won't.
4. The repair itself
Matching materials where possible, replacing decking that's compromised (not just covering it), resealing and re-flashing penetrations correctly, and using corrosion-resistant fasteners appropriate for a salt-air environment like this one.
5. Final walkthrough
We show you what was done and where, so you're not left guessing what's under the new shingles or tile.
Repair or Replace? What Actually Drives That Decision
Not every storm-damaged roof needs to come off. But a repair that's cheaper today can cost more over a few years if the rest of the roof is already near the end of its service life. Here's how we think through it:
| Factor | Leans Toward Repair | Leans Toward Replacement |
|---|---|---|
| Extent of damage | Isolated to one section or slope | Spread across multiple sections or the whole roof |
| Roof age | Under roughly 10-12 years, materials still sound | Nearing or past expected lifespan for its material |
| Decking condition | Dry, solid decking under the damaged area | Soft, delaminated, or repeatedly wet decking |
| Fastener/flashing condition | Minimal corrosion elsewhere on the roof | Widespread salt-air corrosion on fasteners and flashing |
| Storm history | First significant damage in several years | Repeated storm repairs to the same areas |
| Insurance outcome | Claim covers targeted repair scope | Adjuster approves full replacement |
We'll always tell you honestly which side of that table your roof falls on. A repair that's genuinely sound is the right call more often than not — but we're not going to talk you into a patch on a roof that's already showing its age just to keep the job smaller.
Materials That Hold Up in a Bay-Adjacent Environment
What we use on a Whitfield Estates repair reflects what actually survives this location, not just what's cheapest to install:
- Corrosion-resistant fasteners — standard galvanized fasteners degrade faster this close to the water; we use hardware rated for coastal salt exposure
- Synthetic underlayment in repair zones rather than old-style felt, since it holds up better to the intermittent wet-dry cycling common with wind-driven rain
- Properly lapped and sealed flashing at every penetration, not just caulk over an old seam — caulk is a maintenance item, not a repair
- Matched shingle or tile products where the manufacturer's line is still available, so the repair blends and performs consistently with the surrounding roof
We're selective about lower-cost universal patch products that skip proper flashing details or rely heavily on sealant to do a fastener's job — they can look fine going in, but sealant-dependent repairs tend to fail first in a high-salt, high-UV environment, and that means redoing the work sooner than anyone wants.
Insurance and Storm Damage Claims
We're not your insurance adjuster and won't pretend to be, but we can tell you what we're seeing on the roof in plain terms and back it up with photos and a written scope. Most Manatee County homeowners policies distinguish between sudden storm damage and gradual wear-and-tear, which is exactly why documentation matters — an adjuster is more likely to approve a fair scope of repair when there's clear, dated evidence of what the storm actually did versus what was already aging on the roof. We can walk your roof alongside an adjuster if that's useful, and we'll always give you our honest read on the damage regardless of what a claim ultimately covers.
What to Do Right After a Storm
What you do in the first day or two after wind or heavy rain hits can affect both the repair and any insurance claim. A few basics:
- Check attic spaces and ceilings for staining or drips, not just the exterior roof
- Photograph visible damage from the ground before anything is cleaned up or moved
- Clear debris away from downspouts and gutters so water can drain properly
- Avoid walking a wet or storm-damaged roof yourself — displaced tile and softened decking are easy to miss and easy to fall through
- Get a tarp or temporary cover on any active leak as soon as it's safe to do so
- Call for an inspection before the next round of rain, not after
Why Local Experience in Whitfield Estates Matters
A roofing crew that mostly works inland Florida neighborhoods can still do fine work, but they're not necessarily thinking about salt-accelerated fastener corrosion or the specific wind patterns that come off Sarasota Bay when they scope a repair. Working regularly in Whitfield Estates and the surrounding west Bradenton area means we already know what these roofs are up against year-round — not just after a named storm — and we scope repairs accordingly instead of treating every roof the same way regardless of where it sits.
If a recent storm left damage on your roof, or you're not sure whether what you're looking at is cosmetic or structural, we're glad to take a look. The estimate is free, there's no pressure to sign anything on the spot, and you'll get a straight answer about what your roof actually needs — just fill out the form below.