 Bradenton
 Board & Batten Siding in Rosedale: A Look That Has to Earn Its Keep
Board and batten siding shows up a lot in Rosedale — on gables, front entries, whole elevations, and as an accent against stucco or brick. It's a clean, vertical-line look that fits the mix of Florida farmhouse, craftsman, and Mediterranean-influenced homes you'll find throughout this Bradenton community, and it reads well against the mature landscaping and golf-course-adjacent lots that give Rosedale its character. But in this part of Manatee County, board and batten siding isn't just a design choice. It's a system that has to hold up against hurricane-force wind, near-constant UV exposure, wind-driven rain, and salt air moving in off the Gulf and Tampa Bay. Get the material or the installation wrong, and the same vertical lines that make the house look sharp become the first place moisture, fading, and panel movement show up.
This page covers what board and batten siding needs to survive and look right in Rosedale specifically, what a correctly installed system actually involves, and how our process works from first visit to final walkthrough.
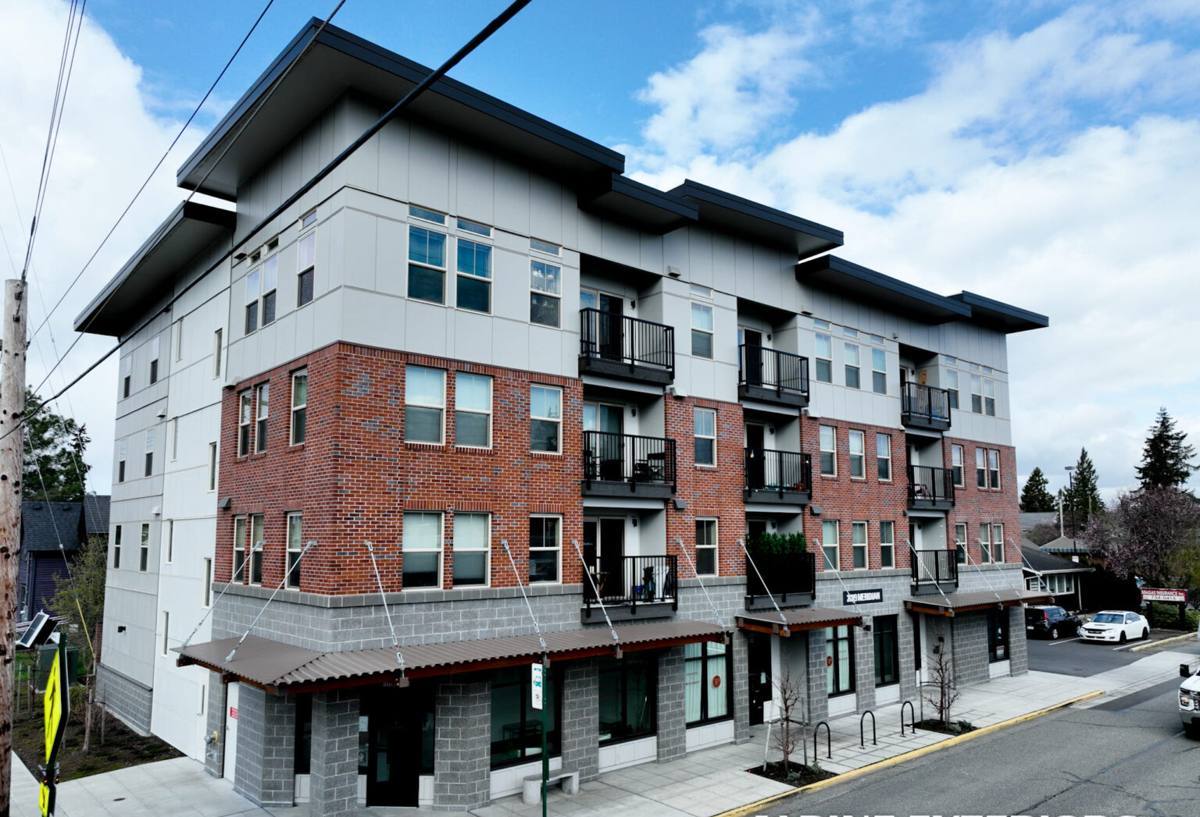
What Bradenton's Climate Actually Does to Board & Batten Siding
Board and batten siding has more vertical seams and more exposed batten edges than lap siding, which means more places for water, wind, and sun to find a weakness. In Rosedale's climate, four things do most of the damage over time:
- Hurricane and tropical-storm wind: Manatee County sits inside Florida's wind-borne debris region, and board and batten panels catch more wind load per seam than horizontal lap siding does. Fastening pattern and panel attachment matter more here than on almost any other siding style.
- Year-round UV: Florida sun is relentless on siding that faces south or west most of the day. Battens and panels that aren't factory-finished for UV resistance chalk, fade unevenly, and start showing seams within a few years.
- Wind-driven rain: Afternoon storms in this part of Florida don't fall straight down — they come in sideways. Vertical siding systems depend on correct flashing and a working drainage plane behind the panels, or that rain finds its way behind the battens instead of running off them.
- Salt air: Bradenton's proximity to Tampa Bay and the Gulf means airborne salt reaches inland neighborhoods like Rosedale more than most homeowners expect. Salt accelerates corrosion on fasteners and trim hardware that isn't rated for coastal exposure.
None of this means board and batten is a poor choice for Rosedale — it's a proven look here. It means the material and the installation both have to be engineered for this climate, not just installed to look good on day one.
Why We Install James Hardie Board & Batten — Not Vinyl or Wood Look-Alikes
We install James Hardie fiber cement exclusively. We don't install vinyl board and batten, LP SmartSide, primed spruce, cedar, or composite look-alikes, and we think Rosedale homeowners deserve an honest explanation of why.
Vinyl board and batten is affordable and low-maintenance in mild climates, but it's a poor match for high-wind, high-heat Florida exposure. It expands and contracts more than fiber cement in our heat swings, it's more prone to wind damage in gusts, and it can't be painted to refresh a fading color without specialized paint — most homeowners just live with the fade. Wood-based products like primed spruce or cedar look great initially and can be detailed beautifully, but they're organic materials in a humid, storm-exposed climate: they're vulnerable to moisture absorption at cut edges and joints, they need ongoing paint and caulk maintenance to stay sealed, and insects and rot are a real long-term risk if maintenance slips even one season.
James Hardie fiber cement is non-combustible, engineered specifically for high-heat and high-humidity climates through its HZ10 product line, and finished with the ColorPlus factory finish system, which is baked on and warrantied against fading rather than relying on field-applied paint. It holds its shape and color in Bradenton's sun, resists moisture at the core because it's cement-based rather than wood-based, and carries a strong transferable warranty. For a siding style like board and batten — where every seam and every batten edge is exposed to the weather — that durability difference compounds over the life of the house.
What Correct Board & Batten Installation Actually Involves
Board and batten looks simple from the street, but it's one of the less forgiving siding styles to install correctly. A rushed or undertrained crew can make it look right for photos and still leave a home exposed to moisture within a few storm seasons.
Moisture Management Behind the Panels
Every board and batten installation we do starts with the water-resistive barrier, not the panels. That means inspecting and repairing the existing weather barrier or installing a new one, correctly lapping and taping seams, and building in a drainage plane so any moisture that does get past the exterior surface has somewhere to go besides your sheathing. This is the step that's invisible once the job is done — and the one that determines whether the siding lasts fifteen years or thirty.
Fastening & Wind Resistance
James Hardie publishes specific fastening patterns and fastener types for board and batten applications, and those specs change based on wind exposure and panel size. We follow manufacturer fastening schedules rather than a generic "good enough" pattern, and we use corrosion-resistant fasteners appropriate for a salt-air environment — not standard fasteners that will start rusting at the head within a few years of Bradenton's air.
Trim, Joints & Batten Spacing
Consistent batten spacing and reveal is what makes board and batten look intentional instead of improvised. We also treat vertical joints and top/bottom terminations — where the panels meet trim, soffits, and foundation — as critical sealing points, since these are the spots wind-driven rain targets first. Correct kickout flashing at roof-to-wall transitions and proper clearance above grade and hardscape are non-negotiable details, not finishing touches.
Our Process, Start to Finish
- On-site assessment: We walk the home, check the condition of the existing siding and substrate, and identify any moisture damage, rot, or flashing issues that need to be addressed before new siding goes on.
- Written estimate: A clear scope and price — no vague allowances, no pressure to sign same-day.
- Tear-off and substrate repair: Old siding comes off, and any damaged sheathing or framing found underneath gets repaired before we move forward. Covering up a moisture problem is not an option.
- Weather barrier and flashing installation: The drainage plane, window and door flashing, and kickout flashing go in correctly, inspected before any siding covers them.
- Panel and batten installation: Installed to James Hardie's fastening and clearance specifications, with consistent reveal and tight, properly sealed joints.
- Trim, caulking, and detail work: Corners, penetrations, and terminations are finished and sealed.
- Final walkthrough: We go over the finished work with you and address anything before we consider the job done.
Cost Factors Worth Understanding Before You Get a Quote
| Factor | Why It Affects Price |
|---|---|
| Coverage area (accent vs. whole-home) | Board and batten used only on gables or an entry costs far less than full-elevation coverage, but transition details add labor either way. |
| Tear-off vs. new construction | Removing existing siding, disposing of it, and repairing substrate damage adds time and cost compared to installing over new sheathing. |
| Substrate condition | Rot, moisture damage, or out-of-square framing found during tear-off has to be corrected before siding goes on — this is the most common source of cost changes mid-project. |
| Trim and corner complexity | Multiple gables, dormers, or custom trim details take more time to detail correctly than a simple rectangular elevation. |
| Home height and access | Two-story sections, steep rooflines, or tight lot access affect equipment needs and labor time. |
| Color and finish selection | Rosedale's HOA guidelines may direct color choices; factory ColorPlus finishes come at a range of price points depending on the color line selected. |
What a Correct Installation Should Include — A Homeowner's Checklist
- Inspection and repair of the substrate and weather barrier before any new siding is installed
- A documented drainage plane behind the panels, not just a barrier stapled on and covered
- Manufacturer-specified fastening pattern and corrosion-resistant, coastal-rated fasteners
- Correct flashing at every roof-to-wall transition, window, and door
- Consistent batten spacing and reveal across the elevation
- Sealed, detailed terminations at trim, corners, and foundation clearance
- A written scope of work and a walkthrough before the job is considered complete
Why a Crew That Already Works in Rosedale Matters
Board and batten siding done wrong doesn't usually fail in an obvious way — it fails quietly, behind the panels, until a storm season or two later something starts to show. A crew that already works in Rosedale has a practical advantage here: familiarity with the community's HOA architectural expectations, an understanding of how sun and wind exposure vary across different lot orientations in the neighborhood, and established local permitting relationships with Manatee County. That translates into fewer surprises, faster scheduling, and a job that's built for how this specific area actually weathers — not a generic install dropped into a coastal Florida ZIP code.
If you're weighing board and batten for a home in Rosedale, we're happy to take a look, walk you through what your home specifically needs, and give you a straightforward, no-pressure estimate. There's no obligation — just an honest assessment from a crew that installs this siding system and this climate every day.